Before you begin decide whether you really want a pond in your garden. A lot of work is involved in constructing a pond and you will need to carry out regularly maintenance work to keep it looking good and a suitable environment for wildlife and plants.
If you decide to go ahead then the major decisions you will need to make at the planning stage are where to site your pond and how big it should be. It is commonly thought that you need a very large garden to accommodate a pond but a pond can be as small as two metres so will it in a lot of smaller gardens too.
Siting your pond is critical to its success. You need to take into consideration the following:
You should be able to view your garden pond from a window so that you can watch birds drink and bathe in it.
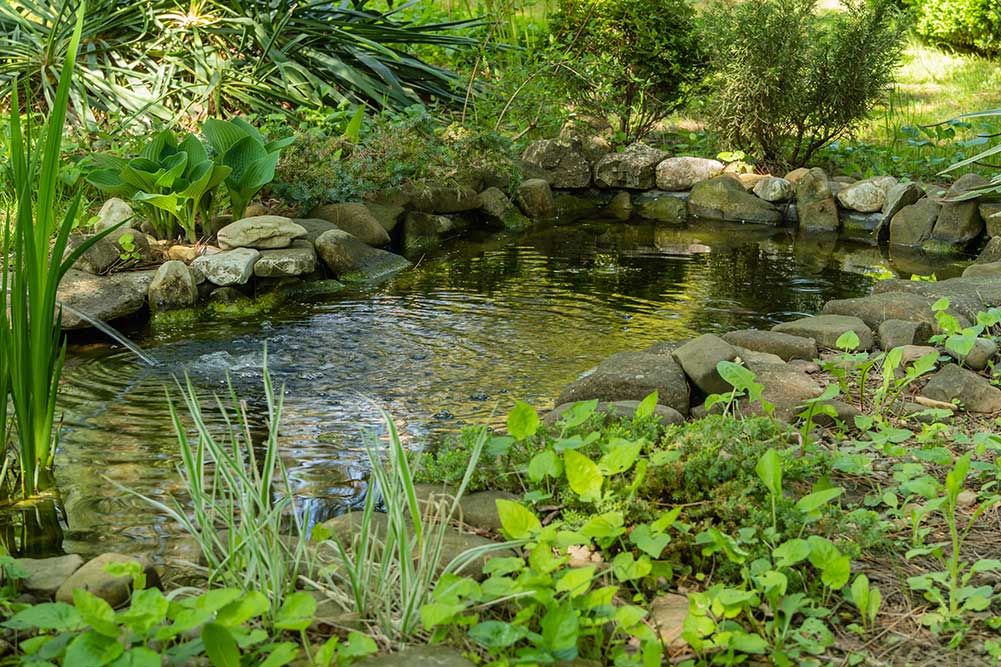
Choose a site that is fairly warm and sunny and has some vegetation growing around it. Ideally, your garden pond should face a southerly to westerly direction.
Try to find the lowest point of your garden to position your pond as it will collect rainwater more easily than a pond that is sited high up a slope.
Don’t site your pond under large, overhanging trees, as these block out the sunlight and will cause problems with falling leaves in the autumn.
Plan the shape of your pond. Avoid straight, regular sides and go for a smooth, curved shape. Before you begin digging your pond mark out the shape with a length of rope or hosepipe. This will help you visualise what the pond will look like when it is finished.
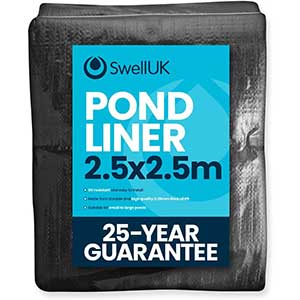
To work out the size of lining you will need for your pond use the pond calculator here
And remember, all ponds, no matter how small and shallow, are a danger to young children so remember to consider their safety.
Once you have decided on the shape of your pond and where to site it in your garden you will need to make sure you have the following equipment in order to build it:
– a spade to dig the hole for your pond, and a wheelbarrow to carry away the soil.
– rope, a length of garden hose, or some bamboo poles to mark out the shape of your pond.
– a tape measure to measure the length, width and depth of your pond and a calculator to work out the size of the lining you will need.
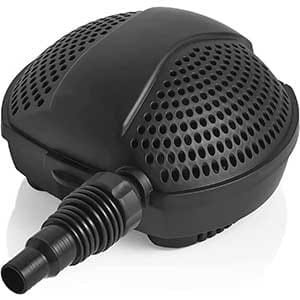
– lining. Hard plastic shells are not very suitable for wildlife as their sides are usually too steep. Instead you will need a flexible pond liner made from rubber. The best colour is black as it reduces the growth of algae and gives better reflections.
– underlay to place under the lining to make a smooth surface for the liner to rest on. You could also use an old blanket or piece of carpet.
– a sharp knife or scissors to cut the lining.
– spirit level to check that the ledges are level all the way round.
– bricks, stones or pieces of turf to hold the lining in position and to hide its edges.
– sand or gravel to cover the lining once it is in position.
You will now be able to start constructing your pond.
– firstly dig a hole, starting at the centre and working out towards the edges. You should dig about 15 cm deeper than your required depth to allow room for the underlay and lining and have shallow slopes from the sides to the middle.
– smooth out the surface of the soil and remove any sharp objects such as rocks, stones or glass which might puncture the lining. Add an even layer of sand to the bottom.
– lay the underlay or carpet into the hole.
– lay the lining on top. Do not stretch it as it will expand when you fill the pond with water. Make sure it overhangs the edges and then weigh it down with bricks or stones.
– add a thin level of sand or gravel to cover the lining.
– fill the pond very gradually using a garden hose making sure you don’t disturb the sand or gravel at the bottom. As the pond fills the lining will expand and stretch. Make sure the edges are still all even.
– add a layer of sand around the edge and weigh down with more rocks, stones or turf as necessary.
This page contains affiliate links. For more information please see our disclosure here.